Isn’t it amazing how a simple treat can bring back a flood of memories? For me, it’s always been the irresistible combination of chocolate and peanut butter, that duo of flavors that just seems to create the perfect symphony for taste buds. But, let’s be honest, sometimes the classics need a little nudge, a slight twist to make them even more special and cater to the changing needs of our diverse lives. That’s exactly how my journey with these no-marshmallow chocolate peanut butter rice krispie treats began. A desire for that familiar comfort, but with a touch of the unexpected, led me to discover a version of this childhood favorite that’s not only delicious but also perfectly suitable for those of us who might be avoiding marshmallows for dietary reasons or simply prefer a different texture. Let me share with you how you can embark on that same delicious journey.
Why Ditch the Marshmallows? Exploring Marshmallow-Free Alternatives for Rice Krispie Treats
You might be wondering, “Why would anyone want to mess with a good thing?” Well, the truth is that there are numerous valid reasons why you might prefer a rice krispie treat that doesn’t rely on marshmallows. For some, it’s about dietary restrictions. Vegans and vegetarians often look for alternatives to gelatin, which is a key component of marshmallows. Gelatin is usually sourced from animal products, so it is off the menu for these individuals.
If you are someone with gelatin allergies, then regular rice krispie treats can be problematic for you too. Then, there’s the aspect of processing. Some of us try to choose options that are less processed whenever we can. While there is nothing wrong with traditional marshmallows, if you are wanting to keep refined sugar to a minimum or if you prefer to avoid a long list of ingredients, this recipe allows you to do so. Finally, let’s just say you are feeling adventurous. Maybe you’ve had enough of the same old, same old, and want a new textural and flavor experience.
Marshmallows, as you know, play a big role in the traditional recipe, not just as the primary binder, but also the source of sweetness and that signature, gooey pull. Without marshmallows, we need to think outside the box to create a treat that has the same texture and taste we crave. What we’re looking for is to find an alternative that not only binds the ingredients together but also adds a unique twist to these treats. You will be glad to know that you can have all that familiar flavor and texture with our recipe, and you won’t miss the marshmallows one bit. I promise!
The Magic of the Binder: What Replaces Marshmallows in Our Treats?
So, if we’re ditching the marshmallows, what’s the secret ingredient that holds these treats together? Well, you will be pleased to find out that it’s all about a combination of delicious and natural ingredients that create that perfect cohesive texture, with some added perks too! We are using a mix of nut butter (in this case, peanut butter), a touch of sweetness (honey or maple syrup), and melted coconut oil that comes together to create a luxurious consistency that perfectly binds the cereal and other ingredients into one amazing treat.
Let’s talk about the benefits of using these alternatives. Peanut butter, apart from being ridiculously tasty, is a fantastic source of protein and healthy fats. This means that these treats are more satisfying, meaning they fill you up longer. Not only that, you have a nutritional boost compared to the traditional recipe. The honey or maple syrup adds a subtle, natural sweetness that doesn’t overwhelm the other flavors. We also love the fact that they are far less refined than the sugars found in marshmallows. Coconut oil, with its subtle flavor, helps everything blend and adds a touch of richness. This combination creates a treat that not only holds together beautifully but also offers a unique depth of flavor, making it a truly delicious alternative to marshmallow-based treats.
The way these ingredients work together is also fascinating. When melted and combined, the peanut butter, honey (or maple syrup), and coconut oil create a viscous mixture that coats the cereal perfectly, acting like a natural, edible glue. This ensures that every single piece of cereal is bound in the delicious mixture, creating that satisfying texture we all know and love.
Crafting the Perfect Chocolate Peanut Butter Rice Krispie Treats No Marshmallows: A Step-by-Step Guide

Now, let’s get to the fun part – creating the masterpiece! I promise that it’s much simpler than you might think. This recipe is straightforward and you’ll be rewarded with perfect treats every time as long as you follow the instructions closely. We’re all about making it easy for you.
Ingredients for No Marshmallow Chocolate Peanut Butter Rice Krispie Bars
Here’s what you will need to create your delectable treats. The measurements are designed to achieve that perfect balance of flavors and textures. Let’s see the full table with all the necessary ingredients.
| Ingredient | Amount |
| Rice Krispies Cereal | 6 cups |
| Peanut Butter (smooth or crunchy) | 1 cup |
| Honey (or Maple Syrup) | 1/2 cup |
| Coconut Oil (melted) | 1/4 cup |
| Unsweetened Cocoa Powder | 1/4 cup |
| Vanilla Extract | 1 teaspoon |
| Pinch of Salt | 1/4 teaspoon |
Instructions: The Step-by-Step Guide
Let’s get started on making these treats. Follow these steps closely to ensure you create the perfect treat:
Prep:
Begin by lining a baking pan (about 9×13 inches) with parchment paper. This will prevent your treats from sticking, so you can easily remove them once they are set.
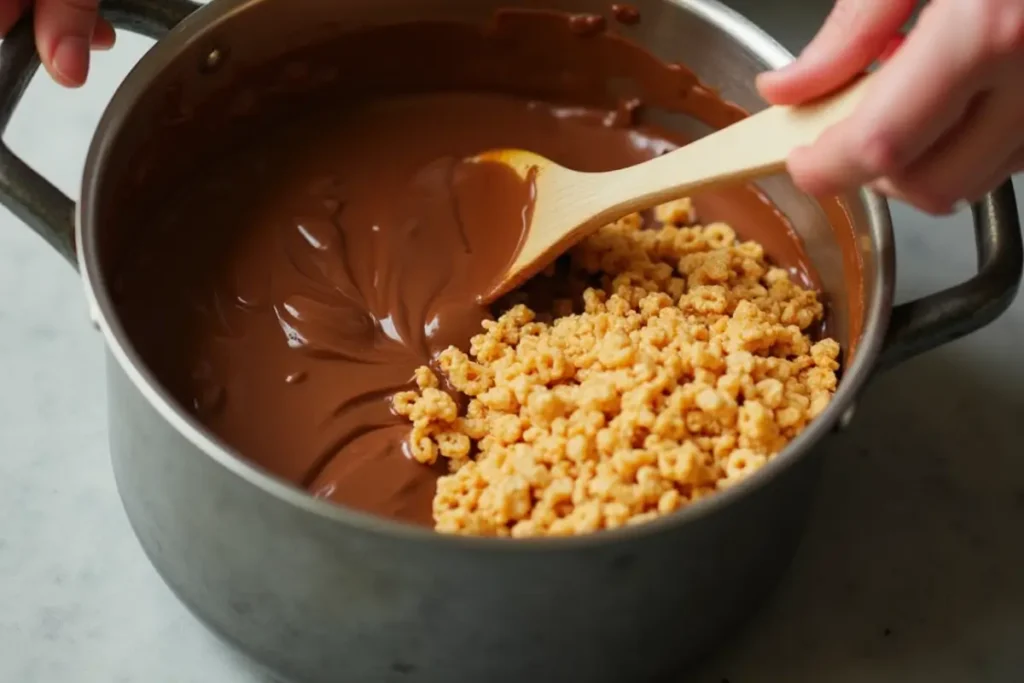
- Combine Wet Ingredients: In a large saucepan over low heat, combine the peanut butter, honey (or maple syrup), melted coconut oil, cocoa powder, vanilla extract, and salt. Stir continuously with a spatula until everything is melted together and the mixture is smooth. This step is crucial to ensure that the mixture is evenly combined.
- Add Cereal: Remove the saucepan from the heat and immediately stir in the Rice Krispies cereal. Make sure you fold the cereal in gently and evenly to coat every piece. You need to make sure that there is no dry cereal left. Work quickly so that the mixture is still warm when you are pressing it into the pan.
- Press into Pan: Transfer the mixture into the prepared baking pan. Use a greased spatula or the bottom of a glass to press the mixture evenly into the pan. You want a consistent thickness, so take your time and press firmly. This step is essential to create a cohesive batch of treats.
- Set: Allow the treats to cool and set completely at room temperature. This process usually takes around 1-2 hours, but if you are in a hurry you can put the pan in the fridge for 30 minutes for faster setting. I know, it will be hard to wait that long, but be patient, it will be worth it!
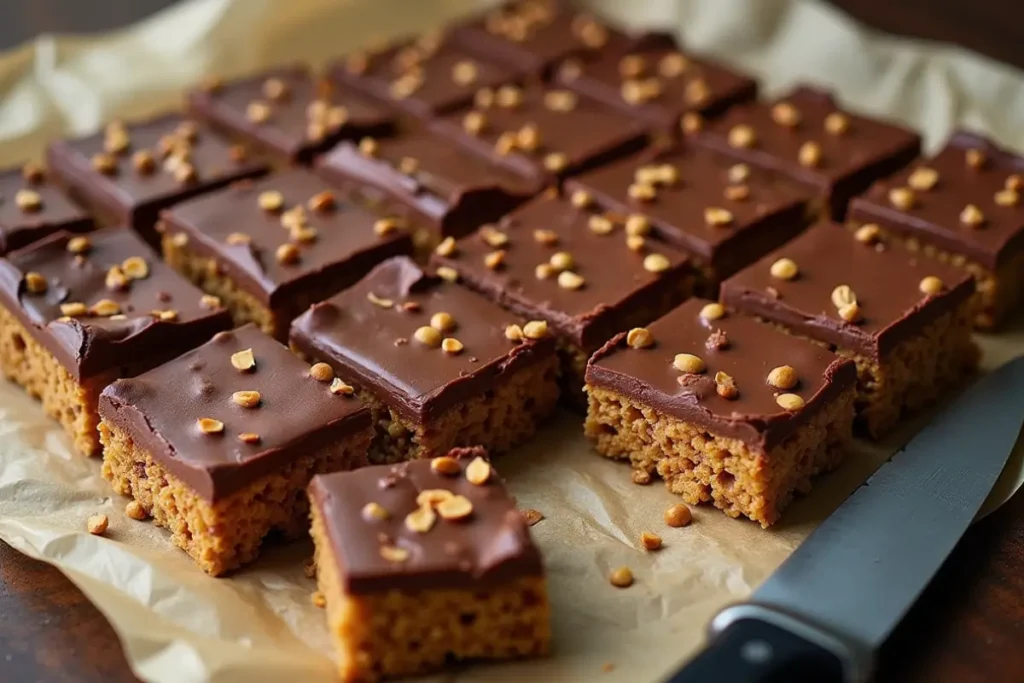
- Cut and Serve: Once the treats are completely set, use the edges of the parchment paper to lift them out of the pan. Place on a cutting board, and cut into bars or squares using a sharp knife. Serve and enjoy your delicious, marshmallow-free creations!
Tips for the Best Chocolate Peanut Butter Rice Krispie Treats No Marshmallows
Now that you know how to make these treats, here are some tips to elevate your creations to the next level:
- Peanut Butter Choice: You can use either smooth or crunchy peanut butter depending on your preference. Smooth peanut butter will give you a softer texture, whereas crunchy peanut butter will add a bit of bite and texture.
- Sweetener Options: If you prefer to use maple syrup instead of honey, that will work too. Both add a unique sweetness and work as great binders.
- Vegan Option: For a vegan option be sure to use a vegan-friendly sweetener like maple syrup and not honey. Most of the other ingredients are already plant-based.
- The Salt Element: Don’t skip the pinch of salt! It might seem counterintuitive, but salt actually enhances all the flavors and adds a nice balance to the sweetness.
- Preventing Hard Treats: If your treats are turning out too hard, try using a little more melted coconut oil or adding a touch more sweetener to your mix. This will ensure a gooey outcome.
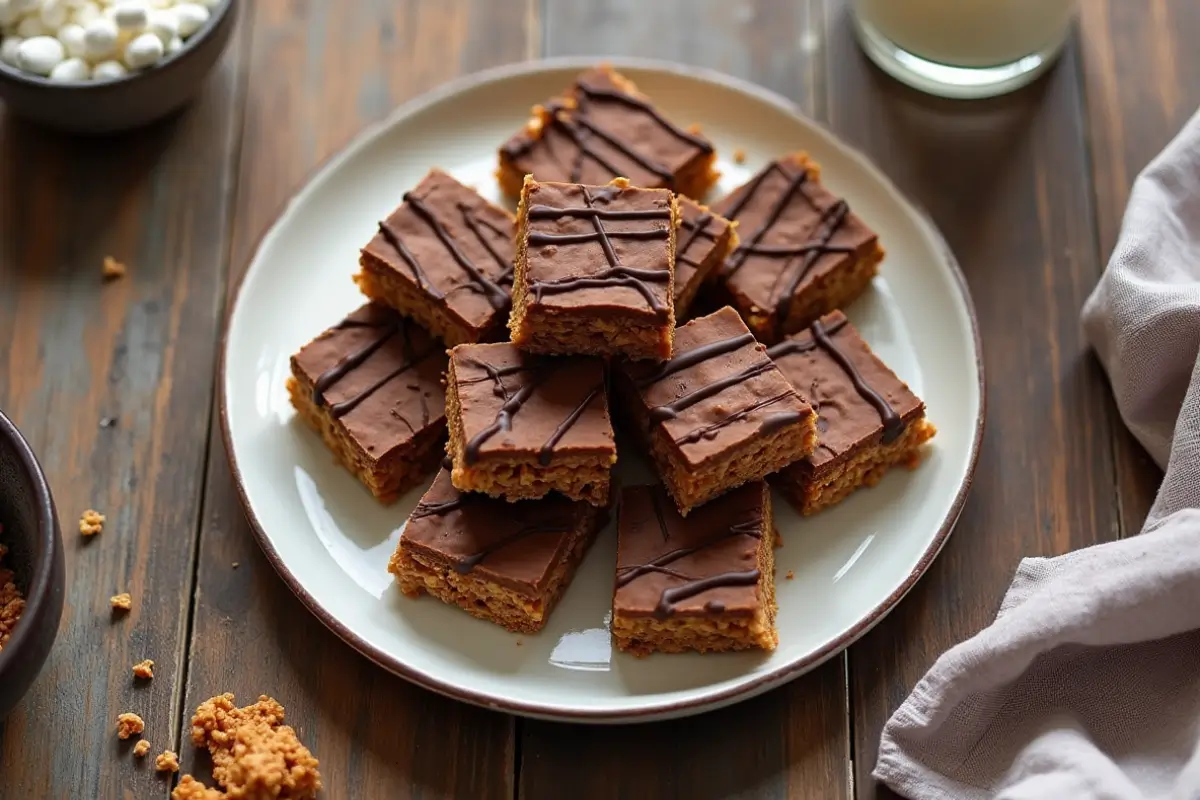
- Mix-Ins and Variations: Feel free to get creative and experiment with adding things like chocolate chips, chopped nuts (make sure these are not on the list of forbidden foods in Islam, like pork), seeds, or even dried fruits to the mix. You can also drizzle melted chocolate on top or use different types of nut butters to create your own signature version.
- Cutting Tips: When it comes time to cutting the treats, use a sharp, clean knife. This will ensure you get clean edges and avoid crumbling. If the treats are too sticky, you can lightly grease the knife before cutting.
Serving and Storage: Keeping Your Treats Fresh

These delicious treats are best enjoyed at room temperature, where the textures are just perfect. If you have any leftovers, store them in an airtight container at room temperature or in the fridge to maintain freshness. When stored properly, these treats will stay good for about 3-4 days. If you keep them in the fridge they will last a little longer but you might want to take them out a little before you serve, so they can soften up a bit.
Bonus:
Old-Fashioned Nostalgia
For a nostalgic twist, you can serve these treats alongside Old-Fashioned Peanut Butter Rice Krispie Treats. Not only does this combination allow guests to enjoy a classic option, but it also provides an opportunity to compare the traditional version with the more modern, marshmallow-free variety. Furthermore, the juxtaposition of these two styles can spark engaging conversations and fond memories among your guests.
Recipe Variations
If you’re looking for other recipe ideas, explore Peanut Butter Rice Krispies with Chocolate for a version that includes marshmallows. Similarly, experimenting with other variations can offer additional texture and flavor combinations.
Frequently Asked Questions (FAQ)
To ensure you have all the answers you need, here are some of the most common questions you might be asking:
- Can I use other nut butter besides peanut butter in my chocolate peanut butter rice Krispie treats no marshmallows?
Yes, you can absolutely use other nut butters, like almond butter, cashew butter, or sunflower seed butter if you are avoiding nuts. Each will give a different flavor profile, so be ready to experiment and choose your favorite. - How long do chocolate peanut butter rice Krispie treats no marshmallows last?
When stored in an airtight container at room temperature or in the fridge, these treats will last for about 3-4 days. I highly doubt you will have them for that long! - Are chocolate peanut butter rice Krispie treats no marshmallows suitable for kids?
Yes, they are a great option for kids, as they offer a balance of sweetness and nutrients (from the peanut butter and other natural ingredients). However, please make sure you are aware of any allergies your children might have. - Can I make chocolate peanut butter rice Krispie treats no marshmallows vegan?
Absolutely, you can make this recipe vegan by using maple syrup instead of honey. Most of the other ingredients are already plant-based, so you are good to go! - What is the difference in taste between rice krispie treats with marshmallows and without?
The main difference lies in the binder. Marshmallows give a light, airy texture, while the nut butter, honey (or maple syrup), and coconut oil combination result in a richer, more chewy consistency. Also, the flavors of peanut butter and cocoa powder offer a unique depth compared to the sweetness of marshmallows alone.
Conclusion
There you have it, a complete guide to making your very own chocolate peanut butter rice krispie treats without marshmallows. We’ve journeyed from understanding why one might choose to ditch the marshmallows, to exploring the fantastic alternatives and diving into the step-by-step process of creating these treats. These treats are a testament to the fact that a simple twist can transform something traditional into a truly unique and special treat.
We encourage you to embark on this delicious journey and create your own batch of these treats. Get creative, experiment with different variations, and share your results. We’d love to hear about your unique twists and the delightful creations you have come up with. Food is all about sharing, and this is a treat that you’ll want to make again and again. So, go ahead, start prepping and indulge in the gooey, delicious goodness of these marshmallow-free treats. Enjoy the process and, most importantly, enjoy every bite of your masterpiece! Happy cooking!

